WordPress
To install CookieTractor in WordPress it's perfectly fine just to follow the normal procedure in how to get started. But you can also install our WordPress plugin to load CookieTractor directly into WordPress – no code customization needed.
When usign our WordPress plugin, all consents given in CookieTractor will adress, and update, the WP Consent API.
Guide to Installing CookieTractor
To implement CookieTractor on your website, you first need an account with us. Create a test account on our homepage if you don't already have one. Then log in to our tool and configure the site where you want to implement the consent dialog.
1) Download, install, and activate our plugin
Start by searching for our plugin within WordPress or downloading it from the WordPress Plugin Directory.

Click Install Now, and then Activate once the installation is complete.
2) Configure CookieTractor
Click on Settings in the list of plugins to access the plugin's configuration options.

Inside the plugin’s Settings, paste your Website Code, which you’ll find in our tool under the Installation tab – beneath the Main/Code section.

If your website supports multiple languages, you can enable Use Site Language. This will use the site's language – including region – from the page request. If this setting is disabled, the cookie banner will render in the language/region specified in the data-lang attribute of the Website Code.
All set!
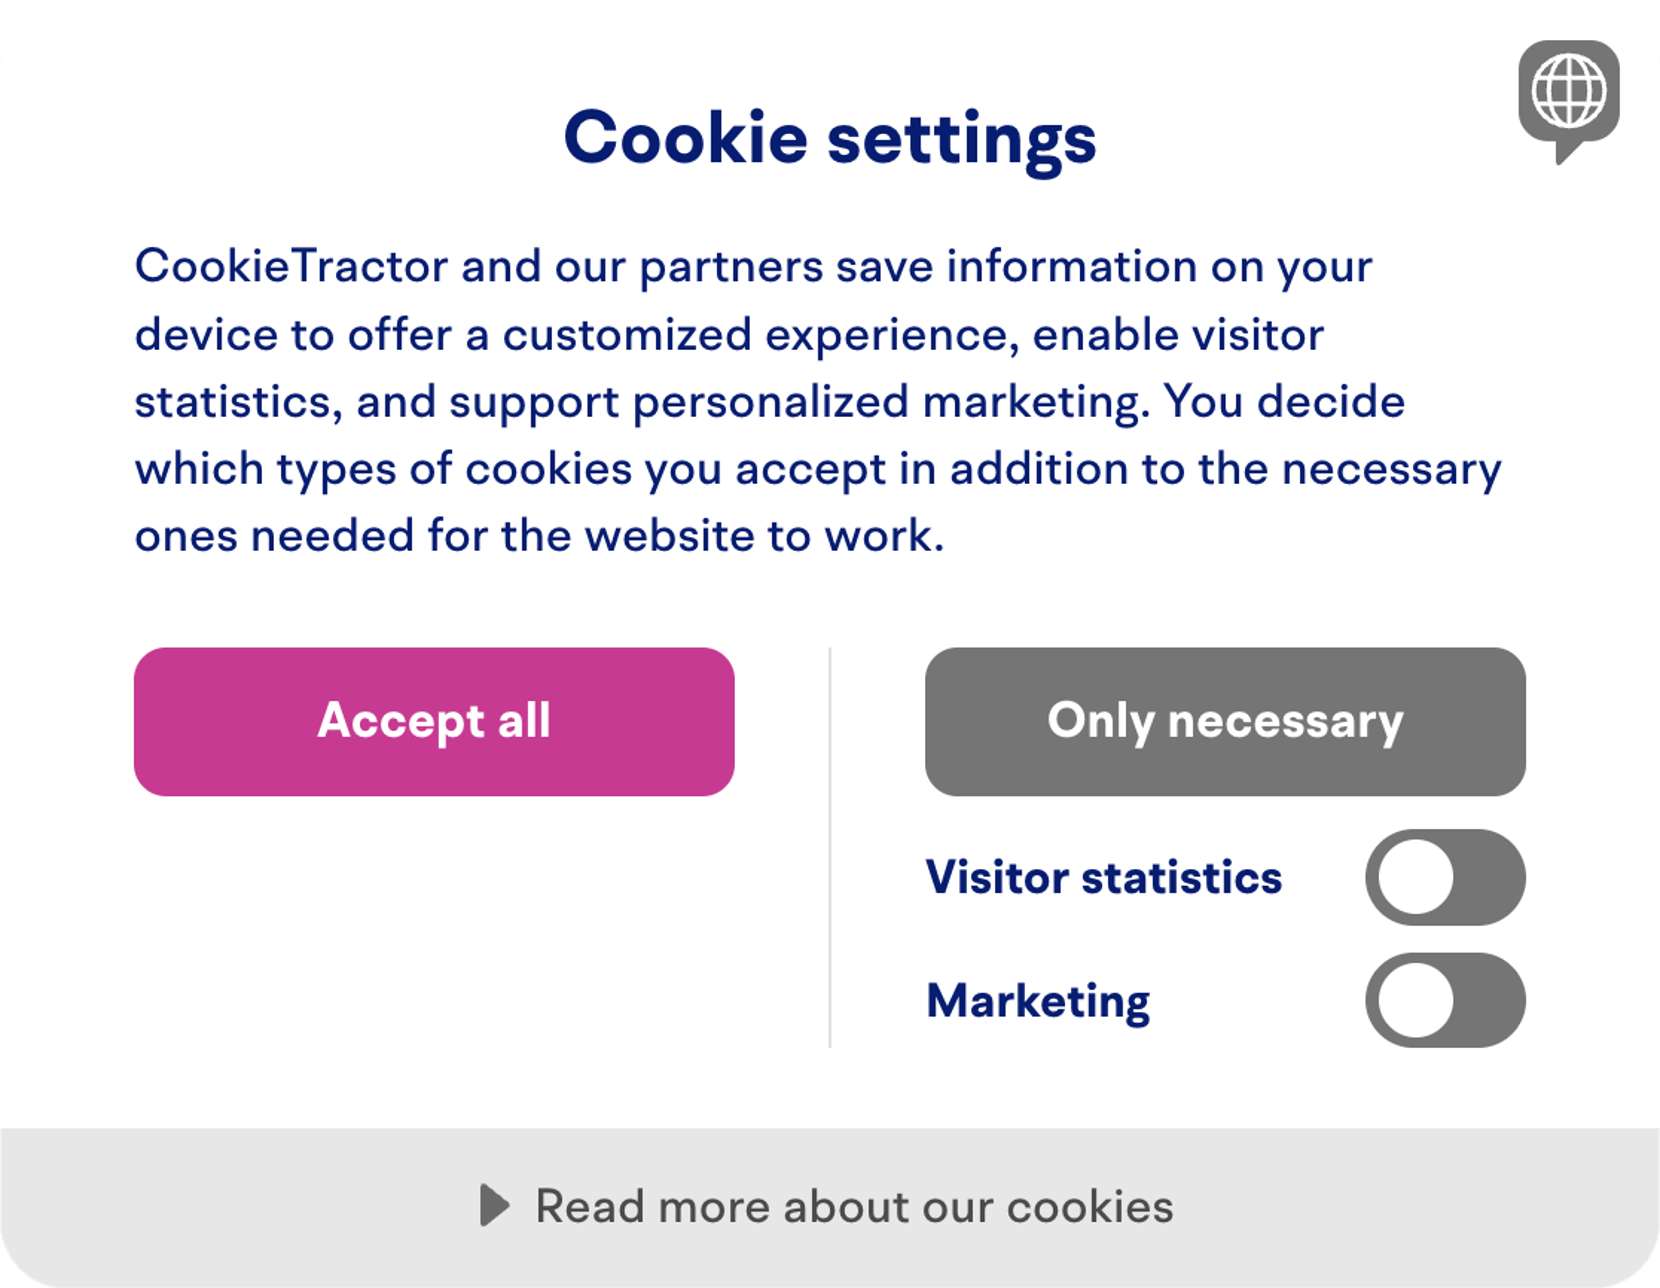
After saving the settings, the CookieTractor banner will automatically show on your site.

Related information
Support
Do you have questions about getting started with WordPress? Feel free to contact us at info@cookietractor.com
